Build your own Raspberry Pi powered Terrarium
Use a Raspberry Pi to control LED lighting for a terrarium.
Download the code I've shared on my Github page, and build your own!
- Changes colour throughout the sunrise, day, sunset, and night
- Uses your geographical location to calculate the actual sunrise and sunset times to use
You will need...
- A Raspberry Pi (any version will do)
- A Terrarium
- A White LED Light strip (to provide light to the plants)
- An RGB LED Light strip (to provide color effects)
- A 12v DC Power Supply
- A 12v to 5v UBEC (Powers your Pi from the same 12v supply as the LED strips)
- A soldering iron and solder
- 4 x MOSFET Transistors (Used in the lighting circuits)
- 4 x Resistors (Also used in the lighting circuits)
- Various lengths of electrical wire

Lets get started
It might seem complicated, but it's pretty straight forward once we break it down into parts. Keep scrolling and we can go through each step. If you get stuck, feel free to send me an email. Perhaps I could make one for you?
Keep scrolling for more...
Powering the lights
How can a Raspberry Pi control LED lighting?
All Raspberry Pi's come with a series of GPIO pins which you can control.

GPIO pins either accept an input voltage which can be read, or can be setup to output a voltage signal. In this case, we want to power our LED lights, so we want to output a signal. In our software, we tell the Raspberry Pi that we want to use three pins to control the RGB light strip (one for each colour), and one pin to control the White LED strip.
Sounds simple right? Unfortunately there are two problems...
- The LED strips require 12 volts, but the GPIO pins only output 3.3 volts.
- The output voltage on the GPIO pins can either be 3.3v or 0v. There's no in-between. For an RGB light strip to show a full range of colours, or a white strip to be at varying brightnesses, we need the values in between the min and max voltage
Fortunately, we have solutions to both of these issues.
MOSFET
Instead of using the Raspberry Pi GPIO pins to power the LED strips (which wouldn't work because the output voltage is too low at 3.3v when we need 12v), we will instead power the LED strips off a 12v power supply, and introduce a MOSFET into that circuit.

Think of the MOSFET here as a type of switch. The MOSFET has two circuits running through it. When current passes through one of those circuits, it opens the other circuit.

We connect our Raspberry Pi and our LED light strip to our MOSFET. I've shown one MOSFET here, but we would need to add one per colour on the RGB strip, and another one for our White LED strip. Each of these are controlled separately to achieve a full colour spectrum.

A MOSFET has three pins. From left to right, Gate, Drain, Source.
- The Gate pin is what is connected to the Raspberry Pi, and is used to open the Source/Drain circuit. You might notice that we need to also connect the Gate pin to negative with a resistor. When voltage is applied to the Gate pin, it charges up like a capacitor, so it must also be attached to negative with a resistor. If you skip that step, the gate will remain open when voltage is not being applied. The resistor allows the Gate to discharge.
- The Source and Drain pins are attached to the LED circuit. Unless voltage is being applied to the Gate, this circuit remains closed.
The part I have used here (Part Number IRLZ34N) is a perfect fit for a 12v LED light circuit. It is rated to work with the Raspberry Pi's 3.3v output and the 12v light circuit. There are two types of MOSFETS, and they are wired differently. This is an N-type MOSFET.

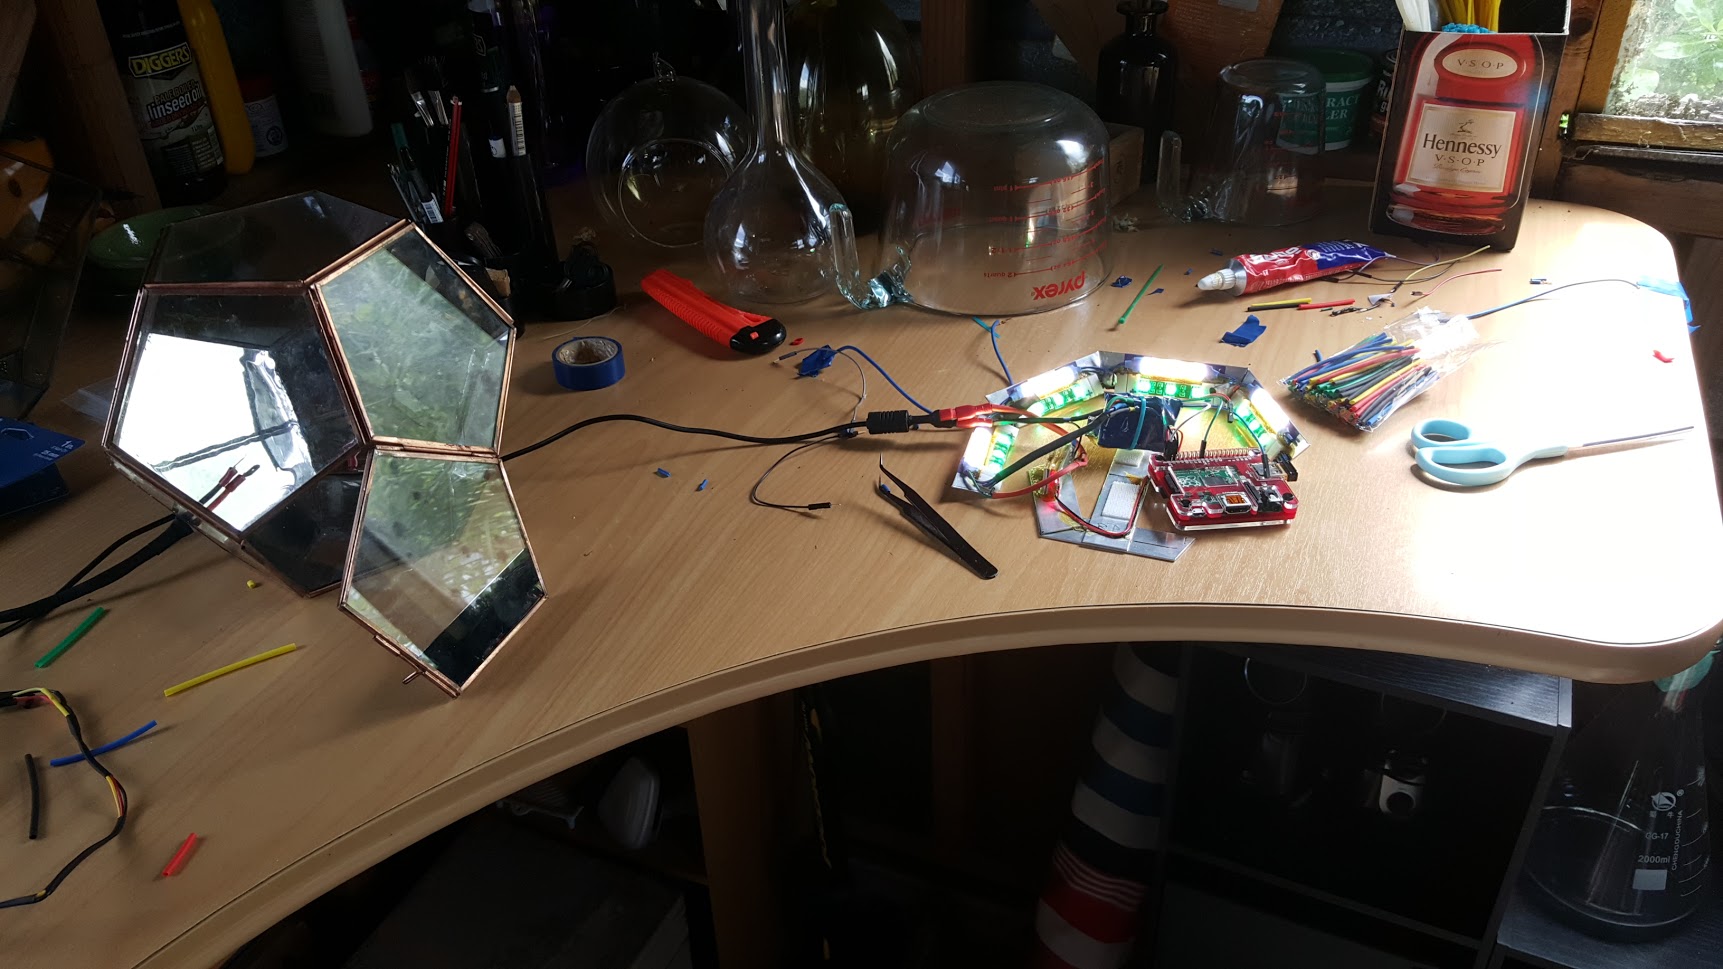
It can be helpful to use a little PCB board to attach the MOSFETs to. The image above was my first attempt. I ended up redoing this part, and not using a PCB. Instead I just used solder, wire, and heat shrink to save a little space.
You might notice that in the picture above, I'm also using the 12v power source to power the Raspberry Pi. The Raspberry Pi can accept 5v power into the GPIO interface. How do we step down from 12v to 5v? We can use a 12v to 5v UBEC. This accepts a 12v source, and outputs a 5v current. This step is optional, you could just use a normal 5v power supply, but I wanted to only have one cable going into the terrarium


Controlling the lights
I mentioned earlier that there is another issue here. Our LED strips are analogue. They accept any current between 0v and 12v. For the RGB light strip, to generate a wide selection of colours, that means we want to use all sorts of voltages.
When the Raspberry Pi is instructed to send an output voltage to our MOSFET, it can only send either 0v or 3.3v. There is no in-between. If we could half the voltage and send 1.65v to the gate of the mosfet, we would expect around 6v of current on the light circuit.
So what can we do?
Pulse Width Modulation
Feel free to skip this section if you want, I've handled this in the code so you don't really need to understand this part. But if you are interested, what we can do is quickly alternate the output 3.3v signal on and off many times a second. We can then have the software turn that signal on for longer, or off for longer, depending on what voltage we want to try and emulate.

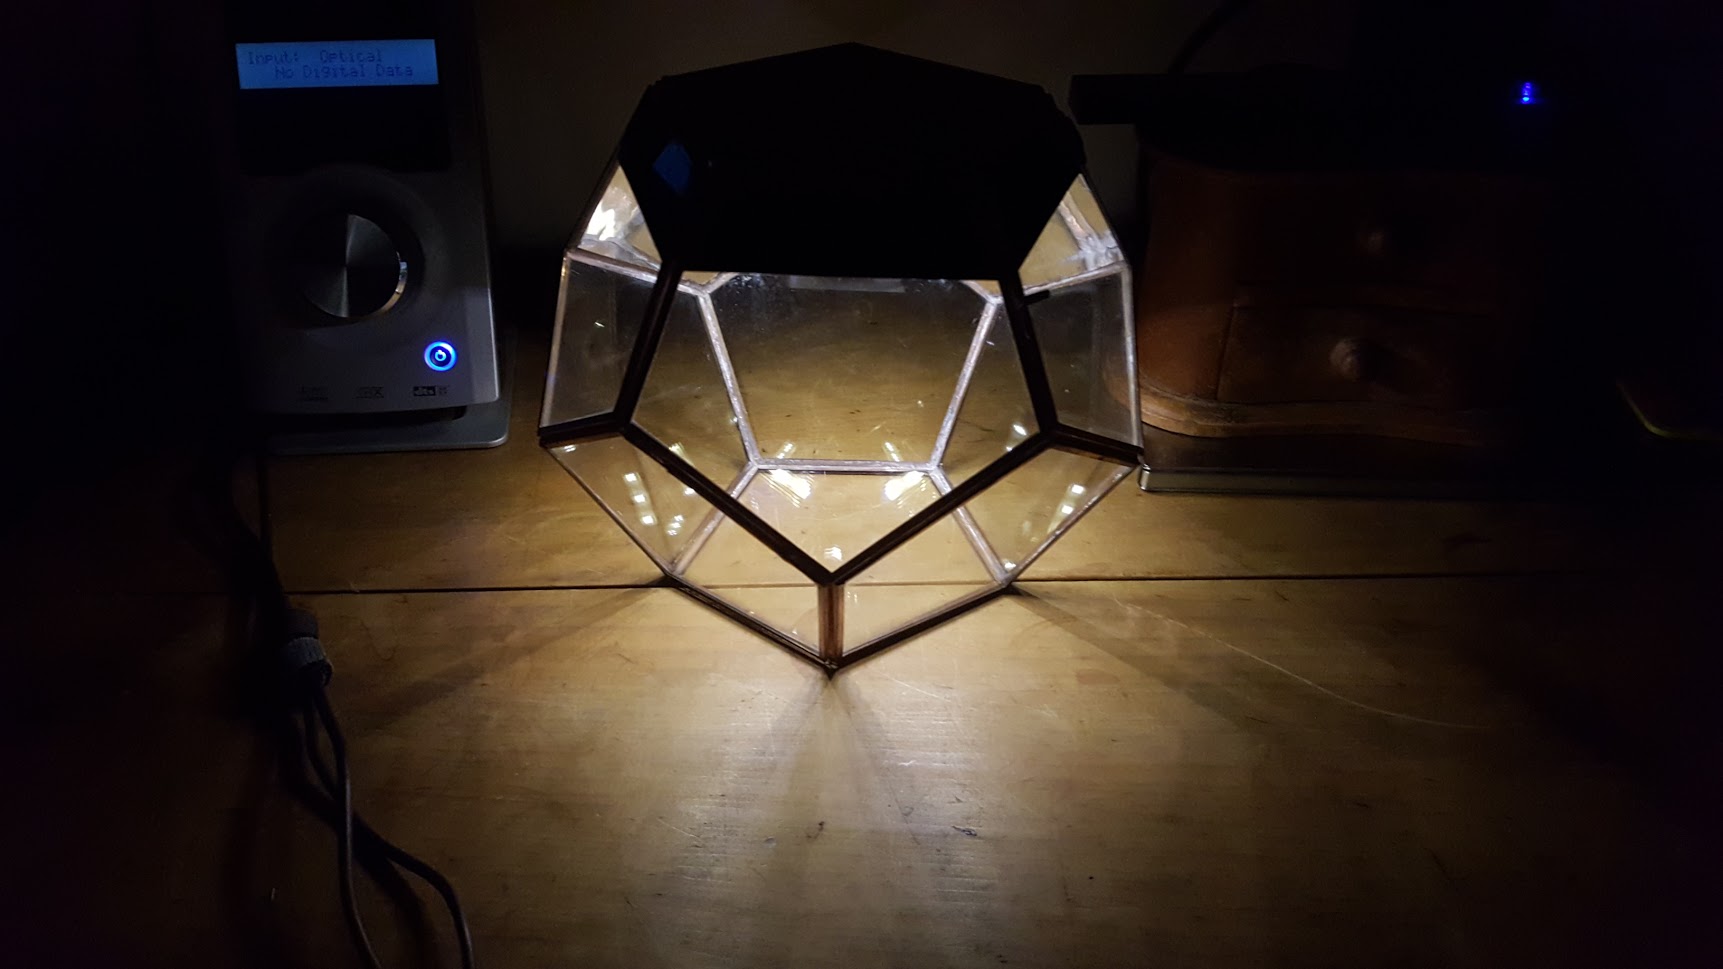
The fun part
Now that the hard part is done, putting the terrarium together can start. For mine, I chose to try and build a closed terrarium and grow mosses, lichens, and other moisture loving plants.
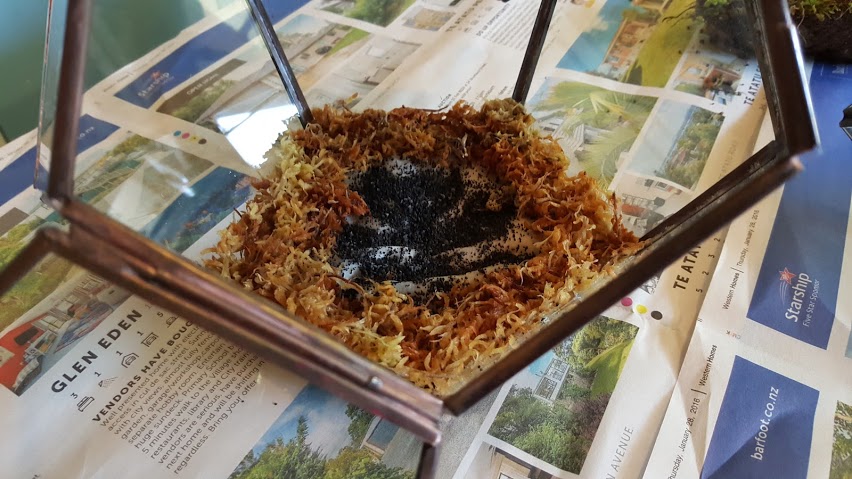
To create a healthy enviroment for the plants, it's useful to create an area in the bottom of the container which contains either spagnum moss, or charcoal. My understanding is that this can help to prevent toxic compounds from lingering in the bottom where the water drains. It will help to prevent the envirment in the soil turning anaerobic, and will be more beneficial to the health of the overall system
For my terrarium, I used...
- Wild plants and mosses collected from nature
- Small rocks
- Medium sized rocks
- Cacti and Succulent Potting Mix (Formulated to drain very well)
- Spagnum Moss
- Charcoal
- A Coffee Filter

First I started with large rocks at the bottom

Next I placed a piece of Coffee filter paper on top

And on top of that, a combination of Spagnum Moss and crushed Charcoal (be sure not to use any charcoal that might have a chemical accelerant added to it to help it burn faster)
On top of that some small rocks

And on top of that some potting mix

Now that we have a functional drainage and bedding layer, the plants can be added. This part was difficult to photograph, but essentially it's a bit of a jigsaw puzzle, and is really an art form in itself.

Installing the software
Firstly prepare a Rasperry Pi by installing Raspian OS, and set the Timezone on your Raspberry Pi with ‘sudo raspi-config’ command. (Defaults to UTC)
Requirements:
- Python 2.7 (comes by default)
- pigpio (comes by default)
Python Libraries
- ephem (Astronomical library to work out Sunrise/Sunset) -
sudo pip install ephem
To install my light controller script, simply copy the main.py, terrarium_lights.py, and config.py files to a directory of the Raspberry Pi, and type the following commands
pigpiod
sudo python main.py
The first command starts the GPIO daemon, and the second command runs my script. The GPIO daemon is the software the Raspberry Pi uses to send and receieve signals over the GPIO interface
Changing your settings
Modify the config.py file and provide your latitude & longitude to allow the script to give you the correct day/night cycle for your location.
Optionally you can also specify which GPIO pins to use. The default is as follows:
- Red: 25
- Green: 27
- Blue: 22
- White: 18
About me
Hi, My name is Mark Paine, I'm a software developer based in New Zealand. I love nature, electronics, and programming. It was great to combine it all together and produce this guide. I hope you enjoyed reading it.
If you have any questions or comments, feel free to get in touch either here in the 'issues' section of the GitHub page, or via email on mpainenz@gmail.com
If you create your own terrarium using this guide, send me a photo.
Do you love this Terrarium, but can't build your own? Perhaps I can build you one? Get in touch. :)